5 technical tips to improve your videos
(almost) for free!
During this long period of quarantine, having no concerts or tours, I discovered many extremely interesting YouTube channels, ranging from photography to restorations, through cooking, DIY and travels.
What I appreciated, with big surprise, is the amount of channels that offer truly varied content, ranging from the most common things like product reviews of the topic in question, up to more niche topics such as survival in the wilderness or hiking.
However, I have noticed that many of these channels have a common problem: they could be improved with minimal effort.
Let’s find out together what small technical measures to adopt, to immediately improve your videos, without spending (almost) anything!
As they say: “If something is done badly, you’ll notice it immediately, while if something is done well, you often don’t notice it at all!”
That’s the point! We often do not notice small details in the contents we see, because they are made so well that they look natural to us and we do not perceive them. Others, however, are the basis of any content, in this case video.
In this article I will talk about those small technical tricks that go from the audio aspects, to the footage, up to tips closely related to what is shot and edited, such as cuts, framed objects and much more.
But let’s go straight to the point! What shouldn’t be done or improved in your videos?
1. Pay attention to the audio levels!
Noone is born a sound engineer, nor does he join a sound engineering class to edit his own holiday videos. So far we agree, but there is a limit to everything. I refer to those videos where on a scale from 1 to 100, the background music or the soundtracks during B-Rolls shot with the drone you just bought on Amazon are set to 101, while the speech of the protagonists of the video is set at a level not higher than 24, resulting barely perceptible and often covered by background noises such as cars, dogs barking or simply the wind that moves the leaves.
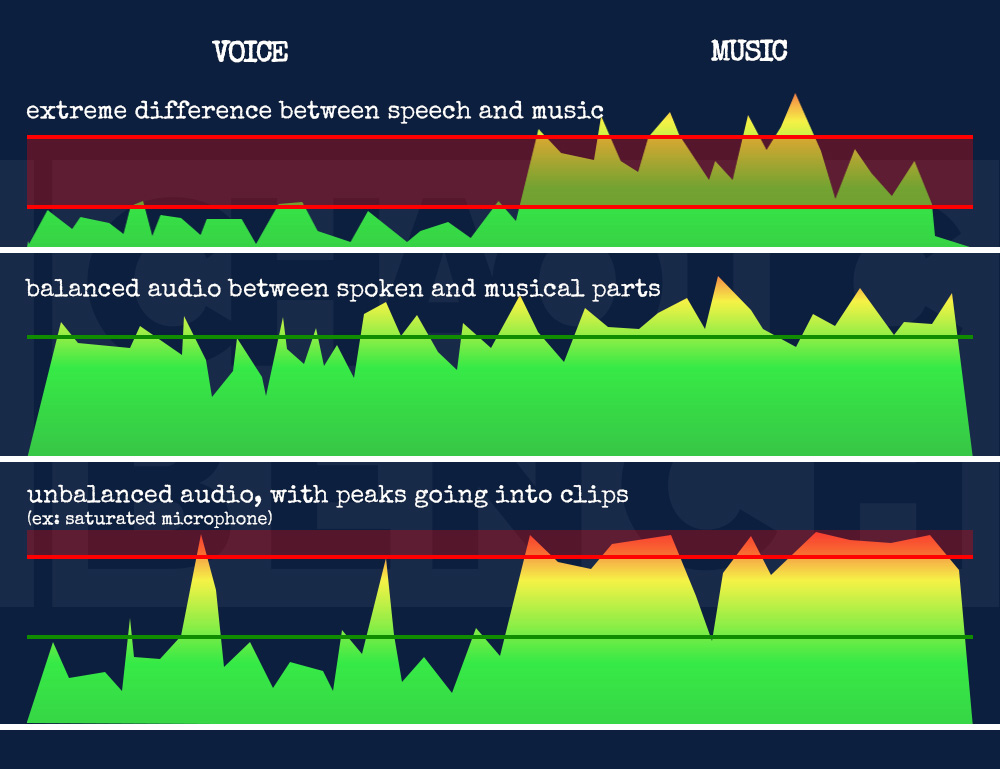
This problem, obviously taken to extremes by me, is however found very often in videos where live recorded speech scenes (from a dedicated microphone or, worse, from the camera / gopro / phone mic) are alternated with landscapes, details, filling scenes (better known as B-Roll) which usually have soundtracks more or less coherent with the images.
What happens, simply, is a continuous variation of the volume, which leads the user to watch the entire duration of the video keeping the finger on the volume keys, whether it is a smartphone, a laptop or the increasingly popular smartTV. Especially on the last ones, since they have more performing and powerful audio systems.
I often have to keep raising and lowering the volume of the TV during a video, because the soundtracks risked damaging my hearing in the first place, as well as the sound system of my smart TV. Turning the volume down, however, when switching to a speech scene, it was impossible to understand even half a sentence, thus having to turn the volume up again.
Guess what happens when, after a speech, a soundtrack returns? What you said? I can’t hear you! Plz, Speak louder!
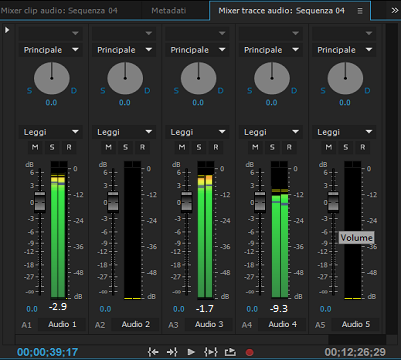
No particular audio knowledge is required to overcome this problem. Just listen to the entire final audio track and try to level the two different types of audio as much as possible, in order to make them uniform. The perfection will still be far away, perhaps, but when, while watching your own ready-to-be-uploaded videos, you’ll be able to maintain an acceptable volume in the headphones and from the sound system without tearing blood from the ears or having to concentrate to listen to the dialogues, you will have partially solved the problem! (If you’re using Premiere Pro, Read this Adobe guide)
Do you think you are not able to fix the audio levels in your videos and you need someone who can do it for you or you just don’t have time to dedicate to these operations, because you prefer to focus on creating and editing? Contact me … I can take care of the volume adjustment!
2. Audio quality is as important as video, maybe even more!
Today we are used to advertisements that focus the potential of a camera almost exclusively on the video aspect. It is not uncommon, in fact, to read flyers or see commercials on TV that enhance the amount of megapixels, the 4K resolution, the available FPS values and a thousand other video features. Much more difficult to find information about audio recording. Often you have to visit manufacturers’ websites or super-detailed reviews of geeks, to obtain valid informations on the type of integrated microphone, sensitivity, frequency range, etc.
This has certainly led to underestimating audio quality in “everyday” videos, creating this imagery of perfect audio quality only in large productions. I’ve often come across really interesting and well made videos, which lost a lot of appeal just because of the poor audio quality.
For example, I was looking for a portable LED panel to be able to easily film with my GoPro even in dark environments such as a backstage, the outside of a venue at the end of the evening or as a light source to work in low light conditions. I then found a very detailed video, where all the pros and cons of a product similar to what I was looking for were explained. Technical data sheets, data on brightness, battery, connectivity, field tests, etc. were shown. In short, a nice exhaustive video about the specs of the product. Too bad the audioquality was so low that I had to activate YouTube’s “auto-generated subtitles”. We all know that often those subtitles generate sentences that not even anagramming them make sense, yet the dialogues were still clearer to me than the original audio. The problem? Extreme reverb due to the location (probably a cellar, a garage or an empty office) combined with the distance of the subject from the camera (clearly due to the need for framing).
Yet, with today’s technologies it is not difficult to achieve good results by spending little.
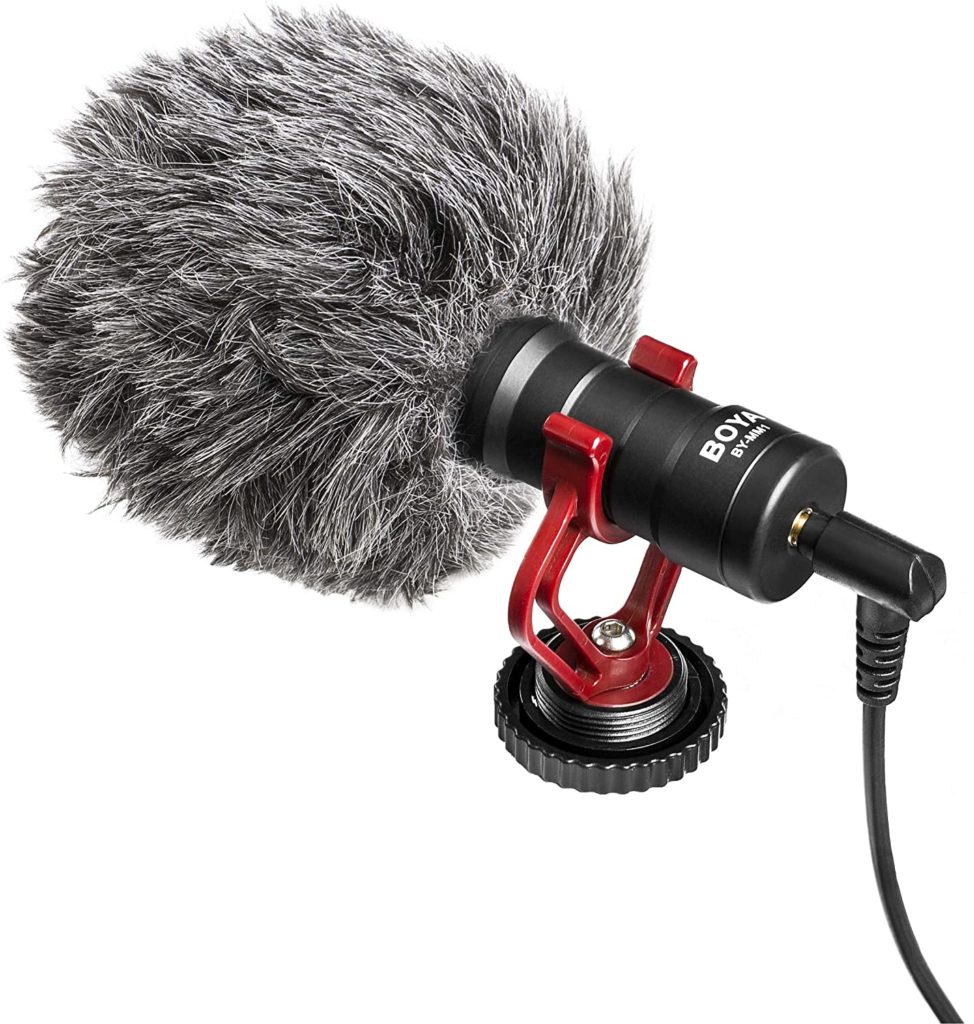
You can get directional microphones to be mounted on your video camera, often also compatible with smartphones and GoPro, which are accessible for a few tens of euros (the Boya BY-MM1 in the picture is one of them). With the equivalent of a few cocktails on a Saturday night you can get some precious Lavalier microphones (those little black balls you see on the shirts of every TV presenter, so to speak) and many more or less cheap alternatives.
Needless to say, if you are a professional YouTuber or your videos are a good source of income, I would invest in something a little more professional, but here we are talking about (almost) free solutions. I will talk about microphones in a dedicated article, so if you are interested in this topic, subscribe to the newsletter at the bottom of this article or follow me on social media!
Oh, I almost forgot … If your videos are often shot outdoors, USE THE “DEAD CAT”! (that nice usually gray plush, which goes above the microphone capsule). It serves to reduce, if not remove, the rustle of the wind which, in addition to making the dialogues incomprehensible, shatters the audio systems of those who will watch your video!
3. Subtitles are your friends!
For those who love watching movies in their original language, subtitles have certainly been the salvation. Often, in fact, the dialogues were so fast and in local slang that even those who were the first of the class in foreign languages found it difficult to follow the dialogues. Yet I can’t explain this “hate” for subtitles among today’s creators.
There are 2 aspects that I find extremely useful in terms of subtitles:
- damaged / incomprehensible audio: all those times in which, involuntarily or by distraction, you find yourself with parts of incomprehensible audio due to the motorbike that passed just as you were explaining a key point of the topic or because you filmed your hiking holding the GoPro in your hand and tapping accidentally the microphone with the thumb. In these cases, where possible, the best solution is obviously to re-record the scene. But if it’s not possible for reasons of time, location, etc., the subtitles will save that shot. In fact, it is sufficient to add subtitles during the “corrupt” part of the dialogue to make the whole speech much more understandable.
- limited language skills: have you decided that your channel has potential overseas or is it about a topic geared more towards an audience that speaks a language other than yours? In this case, if you are fluent in other languages (but we usually refer to English, as it’s international), no problem! If, on the other hand, you do not have a fluency that allows for relaxed listening, it’s advisable to shoot the video in your native language and, armed with Google Translate, add the native subtitles of the platform in question. YouTube is very convenient about this, allowing you to add subtitles without affecting the visual aspect of the video. Those who view your content in the language in which it was shot will only see the video as you produced it. Those who, on the other hand, view your video without understanding the language, will always be able to activate the subtitles, fully understanding what is being said. (Plus, YouTube appreciates videos that feature manually entered native subtitles, giving you a boost in ranking.)
Be careful, though! When inserting subtitles of any type and for any purpose, make sure that the duration is sufficient for an average speed reading. I often found myself having to “rewind the tape” for a few seconds and pause the video to be able to read the complete sentence. It is not the best experience, having to watch the video in pieces to be able to read the texts.
4. You’re not Terry Gilliam!
Let’s leave the audio part and move on to the shots. In the era of action cameras, the concept of “framing” has certainly changed compared to when there were only bulky and heavy cameras. Today we often see videos where the field of view is so wide that you can film what you want in a decent way, without thinking too much about where the lens is pointed. Unfortunately, however, this concept is taken to extremes and sometimes used as an excuse, when we find ourselves in front of quite randomly framed videos.
In my personal opinion, assuming that you are shooting with any action camera, random shots are only justified when you are filming with body mounts such as head, chest or helmet. In these cases, we try to orient the lens according to what should reflect the first person gaze of the wearer of the camera, so even here there is a minimum of weighted framing. Obviously, if you then launch yourself down the Dolomites by bike, what results from it cannot be perfectly calibrated on what you actually imagined, but we are talking about extreme situations where the POV is the main feature.
In case you are using your action camera as a static or handheld camera, however, pay more attention to what is being framed, try to keep an inclination as horizontal as possible (many tripods have a built-in level which is used for this. purpose) and try to distribute the subjects within the frame, to obtain a scene that is simple, clean and easier to observe. Avoid shooting too close or too far away unless the subject itself requires it (eg, house, car, landscape, etc.).
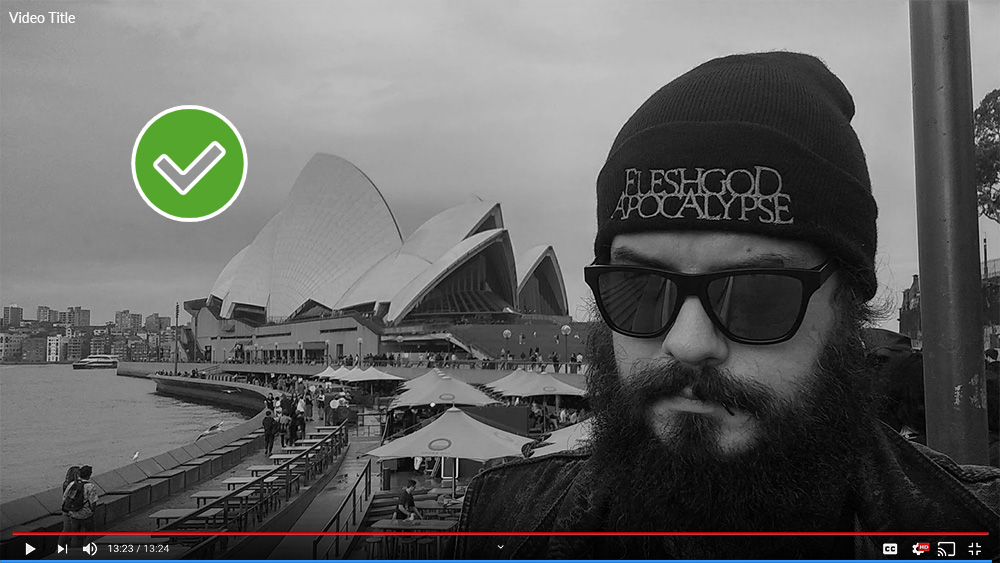
Often it happens to see scenes shot with the horizon slightly distorted (sometimes completely tilted), because the author of the video felt particularly inspired by Terry Gilliam and wanted to try a dutch angle. Remember, though, that you’re not shooting a Hollywood blockbuster! The video content of a YouTube channel is usually closer to a documentary or reality show. Straight shots, subjects that have space on the sides and above the head, scenes that tell moments of real life.
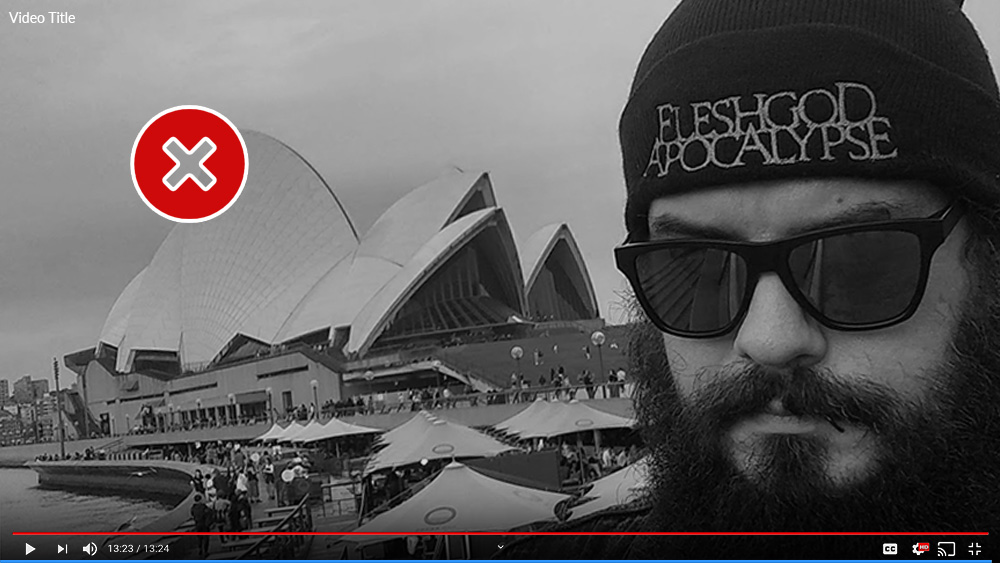
Avoid weird cuts, big faces in the foreground that allow the analysis of the molecular structure of the person and things that are too extravagant. Every now and then they are good, they have their own value, but an entire video based on this type of cuts is boring and confusing. Instead of getting approval from your audience, you only get fewer views and fewer followers because they will be fatigued in understanding your content.
5. Vlog does not mean “Holiday home video”!
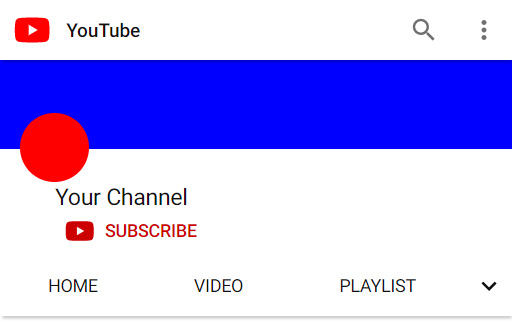
The fact that you have in mind to open a channel to make only simple and direct vlogs does not imply that you should feel not up to having your logo, your format and your graphics.
Channels that have a well-recognizable logo, “corporate” graphics and an intro, in fact, are more exciting and interesting, because in the eyes of those who watch your videos you will be a professional person, determined to provide content of a high level.
On the practical side, these small tricks require very little time and, in case you are not able to create them, a minimum investment. Once you have a logo, a cover image for the channel, your own intro and outro and your graphics, applying them to each video will be extremely simple!
Let’s talk about the typical intro, for example. Once you’ve established which intro you want and you have it on your hard drive (whether it was made by you or by a person like me who can create it for you) you’ll end up with an already exported video file, which you just need to insert into the timeline without further operations. It will take maybe 5 seconds between importing and inserting at the desired point, but your videos will increase in impact and seriousness!
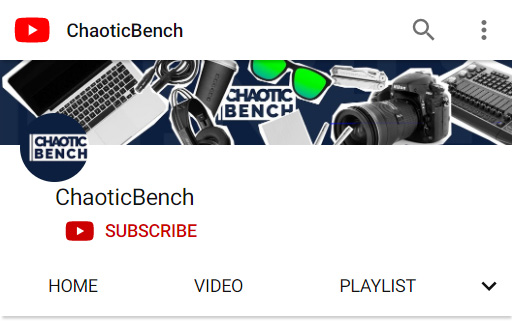
The same goes for graphics that can be overlayed, icons, etc. Once you have them available, you just have to insert them into the timeline, but your videos will suddenly become “branded” and recognizable.
Furthermore, from a purely commercial point of view, if between intro, outro and invitation to subscribe and activate notifications, likes and comments you have footage for 1min of video, your video will automatically be 1 minute longer. And we all know that YouTube likes to reward videos of a certain length!
In conclusion, your videos will probably already be good enough to create interest and have a decent audience response, otherwise you’d have already given up on working on your video channel. That doesn’t mean you can’t improve further!
If you follow my tips and tricks, I’m sure you will soon realize how much your content is more appreciated, whether it’s about likes, shares, video watching time or subscribers.
If, otherwise, you feel that you are unable to solve some or all of these problems, feel free to contact me! I will be happy to create your logo, graphics for both your channel and social profiles and also the intros and outros of your videos, so that you just need to throw these elements in the middle of your timeline and have your own clear distinctive imprint within this sea of content.